The Schema Reconciliation has several functions: It lets you:
Associate your CAD layers with the Data Custodian's Asset Layers.
Create a GIS file containing the specified Asset layers populated with data from the associated source CAD layers.
Link text from CAD text layers to features in Asset Layers
Edit attributes of features in the Asset Layers
After opening a CAD file the Schema Reconciliation grid contains a row for each feature geometry type occuring in each CAD layer. Each row has these columns:
CAD Layer. This is the layer in the CAD file. The name is suffixed with the geometry type.
CAD Geometry. This is the geometry type of the features in this CAD layer.
Asset Group. This is the Asset group from the Data Custodian's Asset template. Asset group examples are Water, Wastewater, and Stormwater.
Asset Layer. This is the Data Custodian's Asset Layer which occurs within selected Asset Group.
Default Asset. This is a default value to be applied to the default attribute of the Asset Layer when creating the GIS file.
GIS Geometry. This is the geometry type of the Data Custodian's Asset Layer.
Attribute. This column has buttons added to it once the GIS file has been created. See below.

On the right of the Schema Reconcilaition tab is the Asset Template for the Data Custodian selected when the CAD file was open. This lets you browse the Asset groups, Asset Layers and layer attributes, as well as the range of acceptable values for the attributes.
To associate a CAD layer with an Asset Layer
Find the row with the CAD layer and geoemtry type you want
Click the checkbox in the left most column. The row will take on a white background and the other columns in the row become active
Click on the Asset Group column for the row. A drop down list of Asset Groups for the Data Custodian will appear. Select one.

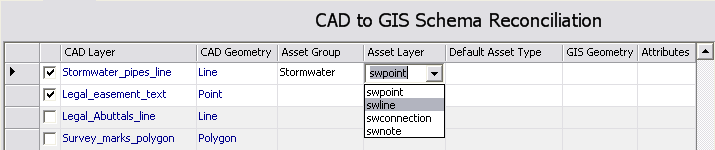
Now click on the Asset Layer column in the row and select an Asset Layer:
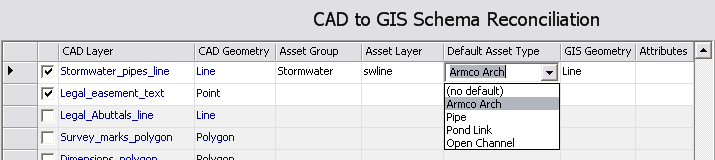
Now select the default value you want to set for the asset type. You can select (no default) if you don't want to set a default value. This default value wil be applied to all features to be created in this Asset Layer in the GIS file.
Once the associations between the CAD layers and Asset Layers are completed you can click the Create GIS(GML) button. This creates the GML file containing the Asset Layers with features from the associated CAD layers.
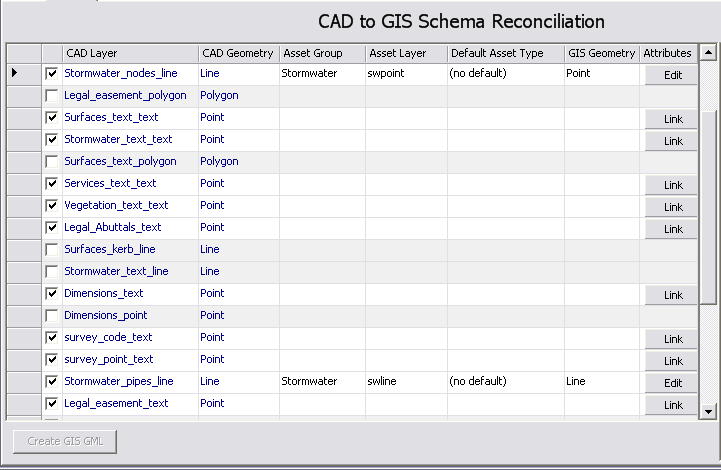
Once the GIS GML file has been created the Link buttons appear agaist CAD layers with geometry type 'text', and Edit buttons appear agaist layers associated with an Asset Layer.
To Link text from CAD text features to Asset layer features, click on a Link button. The the Link Text form appears.
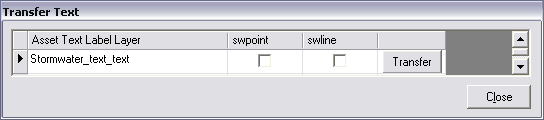
You check the Asset Layer you want to apply text to and click the Transfer button.
To edit the attributes for all features in an Asset layer, click on an Edit butto. The Edit Attributes form will appear. This has a row for each feature in the Asset Layer, and a column for each attribute.
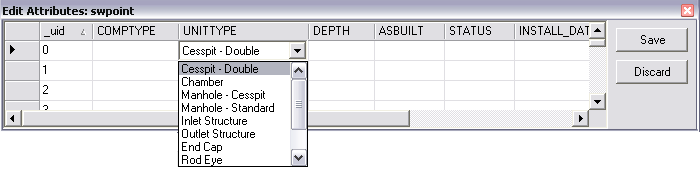
To save attribute value changes click the Save button, or click the Discard button to thow away this set of changes.